

The fastest way to make flashcards from images is to sort the image by type first. A labeled diagram or slide works best as an image occlusion card, where you hide one label and recall it. A photo of a textbook page or handwritten notes works best when you pull the text out first, then write one question per fact. A video works the same way: take the transcript or a few key frames, not the whole thing. This guide walks through each route, how to check that nothing got garbled on the way, and how to review the cards so they stick.
TL;DR
- Diagrams, charts and slides: use image occlusion, which hides one part of the picture per card. Anki has it built in from version 23.10.
- Photos of pages and notes: convert them to text, proofread the result, then write one question per card.
- Video vocabulary: work from captions or the transcript, and add a screenshot only when the picture carries meaning.
- Quality beats quantity: one fact per card, a clean crop, and a quick accuracy check before you study.
- Review on a spaced schedule and answer from memory before flipping the card.
Table of Contents
- Start by sorting your image
- Image occlusion for diagrams, charts and slides
- Photos of textbook pages and handwritten notes
- What makes a good flashcard from an image
- Check that the text and meaning were captured accurately
- Vocabulary flashcards from a video
- What works well, and what to expect
- How to review image-based cards for an exam
- Do it faster with AtListen
- Our perspective
- FAQ
- Sources
Start by sorting your image
Not every image wants to become the same kind of card. Before you open any tool, decide which of these you have.
| Image type | Best card format | Why |
|---|---|---|
| Labeled diagram (anatomy, circuits, cell biology) | Image occlusion | You recall the label in its place on the picture |
| Lecture slide with a chart or process flow | Image occlusion or question and answer | Position and sequence matter |
| Photo of a textbook page | Question and answer, or cloze | The value is in the sentences, not the layout |
| Handwritten notes | Text extraction, then question and answer | Your own shorthand needs cleaning up first |
| Vocabulary list or sign photographed abroad | Term on the front, meaning on the back | Each word is one card |
| Map or timeline | Image occlusion | Location and order are the content |
A useful rule: if the answer depends on where something is in the image, keep the image. If the answer is a sentence that happens to be printed on an image, pull out the text and let the picture go.
Image occlusion for diagrams, charts and slides
Image occlusion is a flashcard format that hides parts of an image so you have to recall what is underneath, much like a cloze deletion for pictures. Anki 23.10 and later includes an Image Occlusion note type natively, so you no longer need an add-on to mask a diagram or a lecture slide.
Here is the workflow, step by step.
- Capture the image cleanly. Take the screenshot at native resolution, capture only the region you need, and save it as a PNG. A downscaled, compressed, badly cropped screenshot is the usual reason masks look shifted and label text turns blurry, according to this walkthrough of the built-in tool.
- Use one slide per image. A slide crowded with ten labels becomes ten cards that all show the same cluttered picture. Split big diagrams into regions you can learn in one sitting.
- Crop before you mask. Remove the title bar, the slide number and anything else that is not part of what you need to recall.
- Add the image in the Image Occlusion note type and draw shapes over each part you want to remember. The same source describes rectangle, ellipse and polygon tools.
- Choose the card mode. "Hide All, Guess One" covers every mask and asks about one of them. "Hide One, Guess One" reveals the others as context while you guess the single hidden part. The first is harder and suits final review. The second is gentler for a first pass.
- Add a header or a short note on the back so the card still makes sense in three weeks, when you have forgotten which lecture it came from.
Which mode when
Start with "Hide One, Guess One" for a new diagram, because the visible neighbors give you hooks. Once you can name every part, switch the same deck to "Hide All, Guess One" to test whether you can recall the whole structure without help. For anything with a strict sequence, such as a metabolic pathway or a circuit signal path, keep the neighbors visible, since the order is part of the answer.

Keep your masks small and specific
One mask should cover one idea. If you cover a whole region of the picture, you will recognize the answer by its shape rather than recall it. Cover the label itself, or the single structure the label points to. If two labels are easy to confuse, such as two similar nerves or two similar chemical groups, make them separate cards so you have to tell them apart.
If you also print some of your visual cards for a desk or a wall, card deck storage ideas can help you keep a physical set organized, and cropping each image cleanly before you print saves you from reprinting later.

Photos of textbook pages and handwritten notes
A photo of a page is a picture of text, and text makes better flashcards as text. The trick is to get it out of the picture accurately.
- Shoot flat and in good light. Hold the phone parallel to the page, avoid shadows from your hand, and capture one page at a time. Curved spines and glare cause most reading errors.
- Extract the text. Use your phone's built-in text recognition or a scanning app, or upload a PDF of the pages to a study tool. Our guide on turning scanned notes into flashcards covers the scan, check and study loop in detail.
- Proofread the extracted text against the original before you build any cards (more on this below).
- Write one question per fact. A paragraph on photosynthesis is not one card. It is four or five: where it happens, what goes in, what comes out, what the light reactions produce, what the Calvin cycle uses.
- Prefer cloze for definitions. If a sentence already states the fact cleanly, blank out the key term. Our piece on cloze flashcards with one fact per blank shows how to do it without creating cards that give away their own answers.
If your source is a long set of typed notes rather than a photo, the five-step process in turning your notes into flashcards works the same way.
Slides that arrive as images
Sometimes a lecturer posts slides as flattened images instead of an editable file. The approach splits in two: slides that are mostly text become question and answer cards, and slides that are mostly diagram become occlusion cards. If you have the original file, making flashcards from PowerPoint slides is quicker, because the text is already selectable.
What makes a good flashcard from an image
A card built from an image is only useful if it asks you to retrieve something specific. These habits separate cards that help from cards that just look busy.
- One target per card. The question should have exactly one correct answer.
- No clues in the picture. If the label's length, color or position gives the answer away, change the crop or the mask.
- Context on the back. Add the source and the lecture or chapter, so you can find the original when a card confuses you.
- Your own words. Rephrase definitions instead of copying them. Copying lets you recognize the wording without understanding it.
- Image only when it earns its place. A decorative photo adds nothing. A diagram, a graph shape or a specimen photo is the content itself.
The broader principles are the same as for any card set, and our guide to effective flashcards lays out how spaced recall replaces cramming.
Check that the text and meaning were captured accurately
Automated extraction and automated card writing both make mistakes. A two-minute check before you study is cheaper than learning a wrong fact. Run through this list on each new deck.
- Compare the first and last card to the source. Errors often cluster at page edges, in tables and in footnotes.
- Scan numbers, units and symbols. A dropped minus sign, a swapped 0 and O, or a mu read as a u can flip the meaning of a chemistry or physics card.
- Look at every proper noun and term. Misspelled names are easy to miss and hard to unlearn.
- Read the answer without the image. If the back of the card cannot be understood alone, add the missing context.
- Check labels against the arrows. In diagrams, a label can sit near the wrong structure. Follow each leader line to its target.
- Delete cards you cannot verify. If you are not sure the card is right, fix it or remove it. An uncertain card gets studied as truth.
For a medical or licensing exam, where precision matters most, compare cards against your official course or exam materials. Our walkthrough on making USMLE flashcards with AI shows how to build that review step into the workflow.
Vocabulary flashcards from a video
Video is a great source of vocabulary because words come with a voice, a situation and often a picture. The weak spot is that a video is long and most of it is not worth memorizing. So narrow it down before making any cards.
Start with the transcript
On a YouTube video in a desktop browser, you can open the built-in transcript: click "...more" under the video title, choose "Show transcript," and toggle off timestamps for clean text, as this step-by-step guide describes. Auto-generated captions have errors, especially with accents, names and technical terms, so treat them as a draft.
Pick words worth learning
Read through the transcript once and highlight only words you did not know and expect to meet again. A good target for a language learner is ten to twenty words per video. More than that, and review piles up faster than you can handle.
Decide whether you need a frame
A screenshot helps when the picture explains the word: a kitchen utensil, a lab instrument, a gesture, a street sign. It does not help for abstract words. When you do use a frame, keep it uncluttered and crop out subtitles that would show the answer.
Build the card
For each word, put the word in a short sentence from the video on the front (with the word blanked or highlighted), and the meaning, a translation or a plain-language definition on the back. The sentence gives you context that a bare word list never does.
We cover this in two related guides: turning lectures into vocabulary flashcards and YouTube to flashcards in five steps. If your source is a recorded class, lectures to flashcards walks through a full workflow.
What works well, and what to expect
Works well
- Sharp, well-lit, flat photos with printed text
- Clean diagrams with clear labels and leader lines
- Slides exported as PNG at full resolution
- Videos with accurate captions and clear speech
Needs a closer check
- Handwriting, especially cursive or crowded margins
- Photos taken at an angle, or with glare and shadow
- Dense tables and multi-column layouts, which can be read in the wrong order
- Math, chemical formulas and special symbols
- Auto-generated captions with background noise or strong accents
- Low-resolution screenshots, which blur small labels
Expect to spend a few minutes cleaning up a deck whatever the source. That time is part of learning: reading each card once more is already a first review.
How to review image-based cards for an exam
Making cards is not studying. The benefit comes from pulling the answer out of memory. Retrieval practice, combined with spaced repetition, is described as consistently outperforming re-reading and cramming for long-term retention, and that is why flashcards beat highlighting a page.
A simple routine:
- Answer out loud or in writing before you flip. For occlusion cards, name the hidden part and say what it does.
- Grade honestly. If you hesitated, mark it as hard.
- Review a little every day. Fifteen to twenty minutes beats a three-hour block the night before.
- Mix image and text cards. Alternating formats stops you from memorizing the look of a deck.
- Shuffle the context. Occasionally redraw the diagram from memory on paper and compare it with the original.
- Retire what you know. Let well-known cards space out so your time goes to the weak ones.
- Fix confusing cards right away. If you keep missing one, it is usually badly written. Split or rewrite it.
About two weeks before an exam, switch every occlusion deck to the harder "hide all" mode, and add a final pass where you try to reproduce each diagram blank.
Do it faster with AtListen
If you would rather not build every card by hand, AtListen turns lectures, videos, audio recordings, PDFs, textbooks, notes, web articles and YouTube URLs into structured study material: summaries, key concepts with definitions, practice questions with explanations, and flashcards designed for spaced repetition. You can set the depth of the output and get feedback as you practice. A photographed page works well here once it is saved as a PDF or typed into your notes.
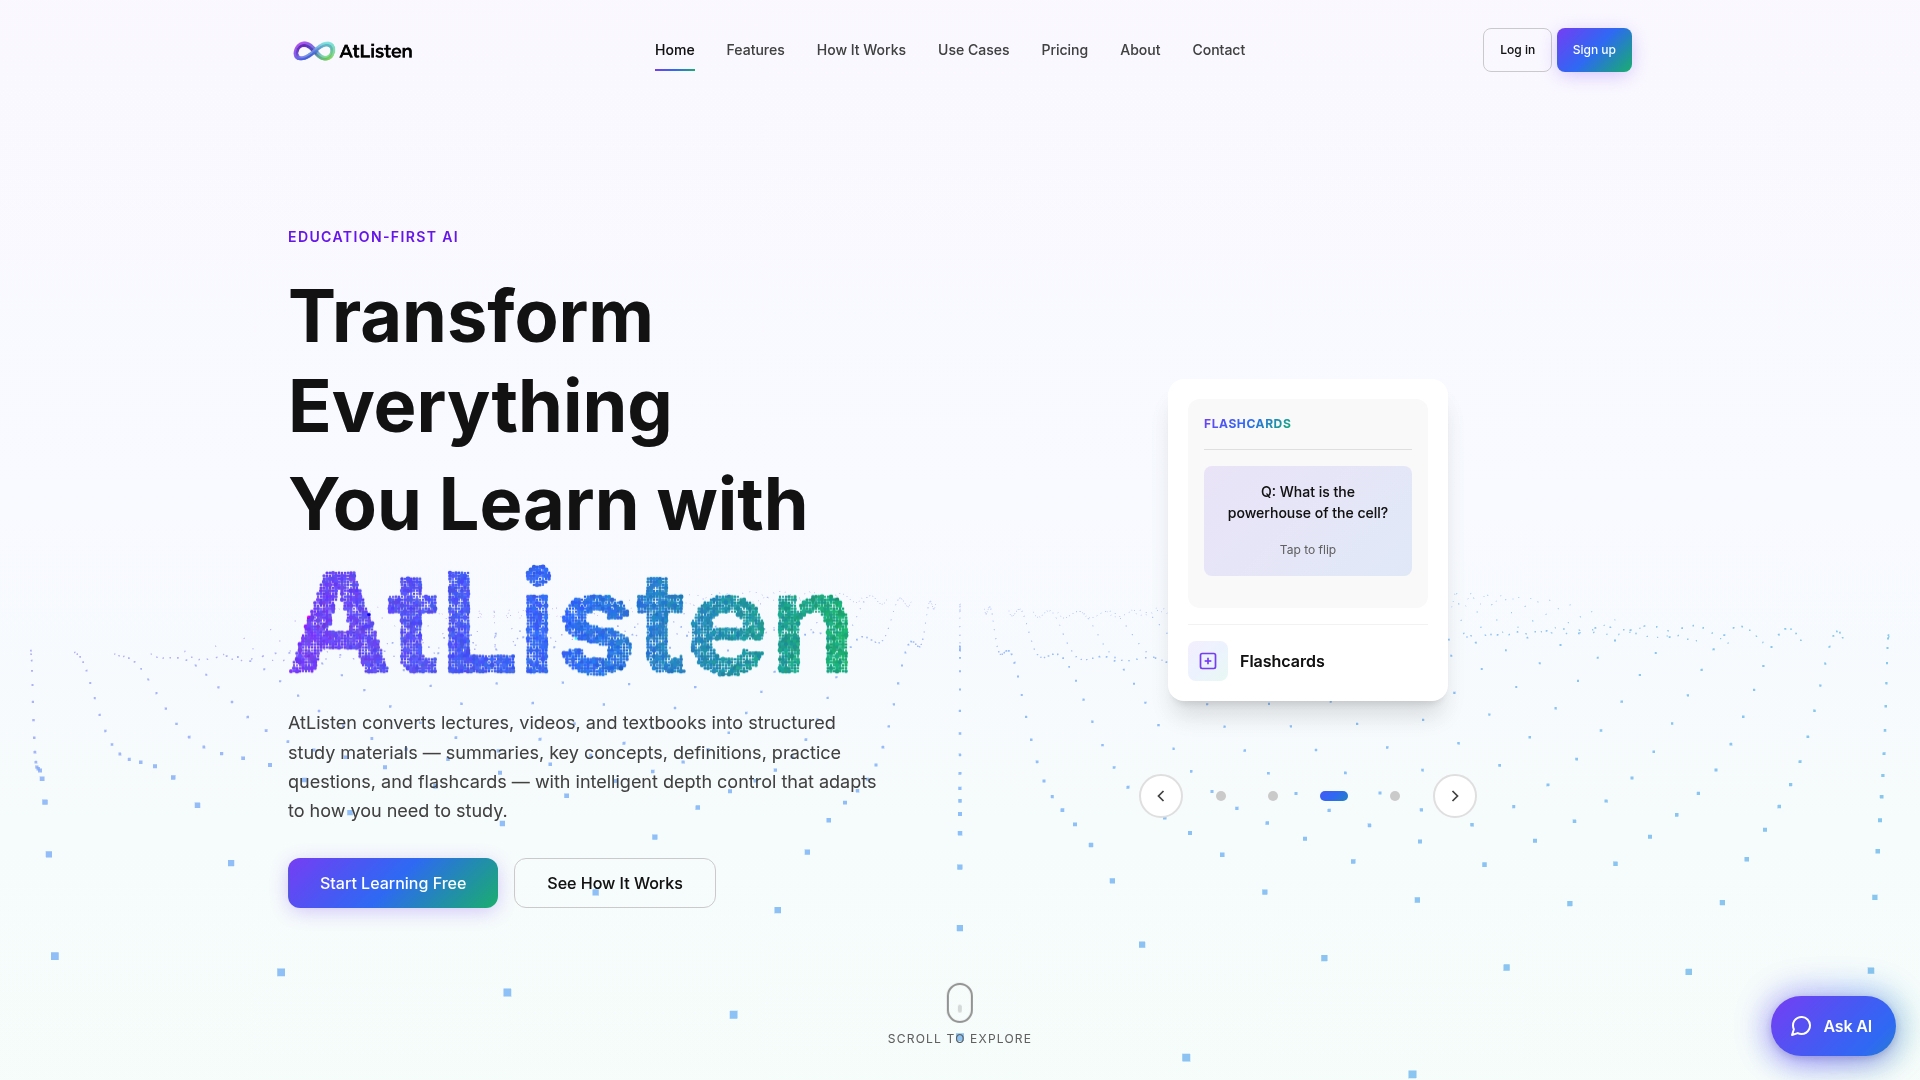
There is a Free plan at $0 per month, Pro at $19.99 per month and Max at $39.99 per month. See the plans on the AtListen homepage and start with a lecture or chapter you already have. Your uploads are covered by the practices on our security page.
Our perspective
Most students do not fail because they lack flashcards. They fail because the cards were made at midnight, copied word for word, and never reviewed on a schedule.
We built AtListen around that problem. Passive studying, tight schedules and information overload push students toward highlighting and rereading, and neither makes you recall anything. So we focus on turning material you already have, whether it is a lecture, a video or a textbook chapter, into active study formats: key concepts, definitions, practice questions and flashcards made for spaced repetition.
Images are where this matters most. A diagram has a lot of information packed into a small space, and it is easy to feel you know it because you have looked at it many times. Our view is that the picture should be broken into small, answerable questions, and that the depth of those questions should match your goal. A first-year survey course and a licensing exam do not need the same level of detail, which is why we give you control over depth.
The best deck is one you will actually open tomorrow. Get the material into small cards quickly, check them once, and spend your time on recall.
William
FAQ
Can I turn a photo of my notes into flashcards?
Yes. Take a flat, well-lit photo, extract the text with a scanning or text-recognition tool, and proofread it. Then write one question per fact, or upload the notes to a study tool that builds the cards for you. Always compare the first few cards with the original, because handwriting is the most common source of mistakes.
What is the difference between image occlusion and a regular flashcard?
A regular card asks a question in words. An image occlusion card hides part of a picture, such as a label on a diagram, and asks you to recall it in place. Use occlusion when position or structure is the thing you are learning, and regular cards when the answer is a definition or a sentence.
How do I make vocabulary flashcards from a video?
Open the video's transcript or captions, highlight the words you do not know, and make one card per word with the sentence it appeared in. Add a cropped frame only when the picture explains the meaning. Keep it to ten to twenty words per video so your reviews stay manageable.
What image format should I use?
For diagrams and slides, save a full-resolution PNG and crop out everything you do not need. Compressed or downscaled images blur small labels and can make masks look misaligned. For pages of text, a sharp, flat photo converted to a PDF or plain text usually works well.
How many cards should I make from one image?
One card per fact or per label you need to recall. A simple diagram might give you five to eight cards, while a dense one is better split into several smaller images first. If a single card tests more than one thing, split it.
Sources
- Anki Image Occlusion: Slides to Flashcards Fast
- The Power of Spaced Repetition with Flashcards
- How to Download YouTube Captions & Transcripts
- Card Deck Storage Ideas